Friday, January 31, 2014

Thursday, January 30, 2014

Be Inspired by CLOUDS

Hello and happy Thursday everyone! As soon as I opened my January kits I knew what would be the topic of my Be Inspired post this month- I fell in love with all the clouds in kits immediately! I searched through Pinterest for some more cloud inspirations for today: 


And I couldn't stop myself from making a layout! I used here clouds from the "My sunshine" scrapbooking kit and "Epic Fun" Embellishment kit. I love the layered clouds from pictures above so I tried to repeat this idea on my layout. 

FEEL THE RAIN Kasia Tomaszewska

FEEL THE RAIN Kasia Tomaszewska det3

FEEL THE RAIN Kasia Tomaszewska det1

FEEL THE RAIN Kasia Tomaszewska det2

Thank you for looking and have a wonderful Thursday! 

Tuesday, January 28, 2014

Tuesday Tutorial with Trina

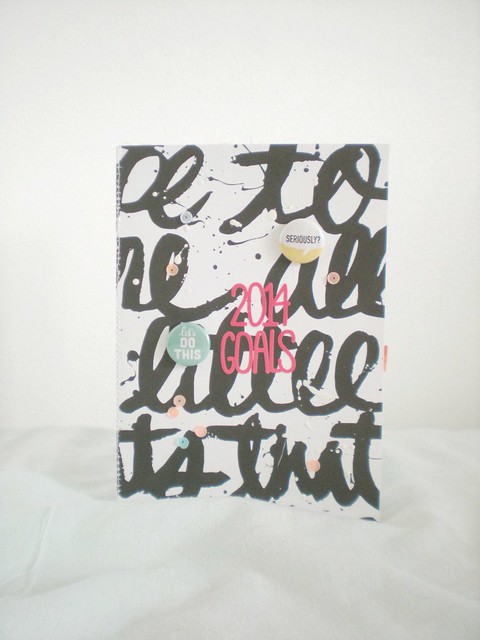
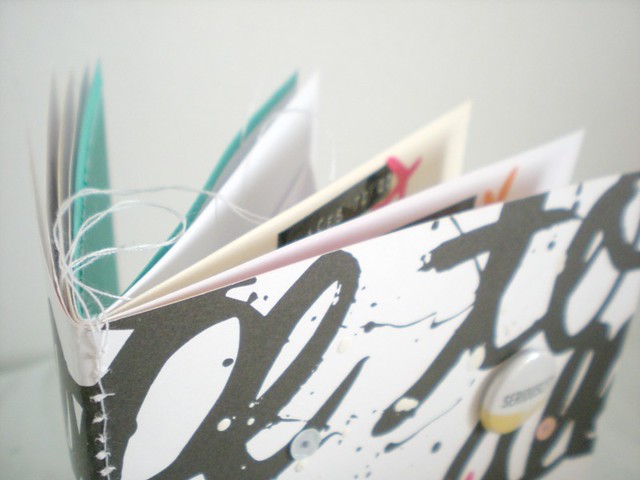
Good morning everyone! I wanted to share a tiny sneak of just a little that is coming in your February kits and share a way that I like to use 6 x 6 paper pads. We've got a brand new, adorable paper pad coming your way for our Pocket Life subscribers.

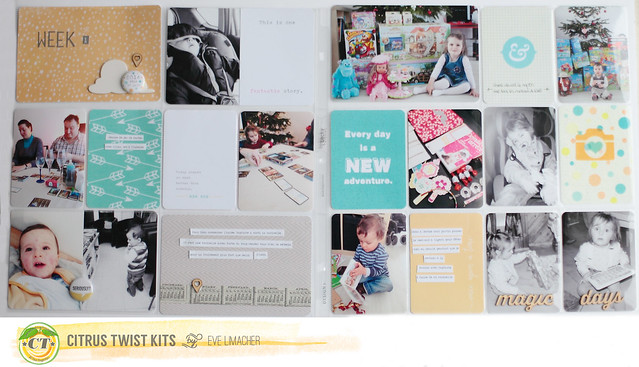
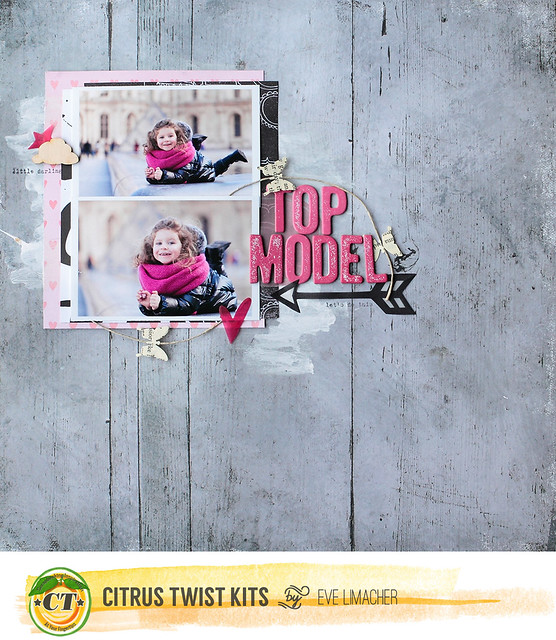
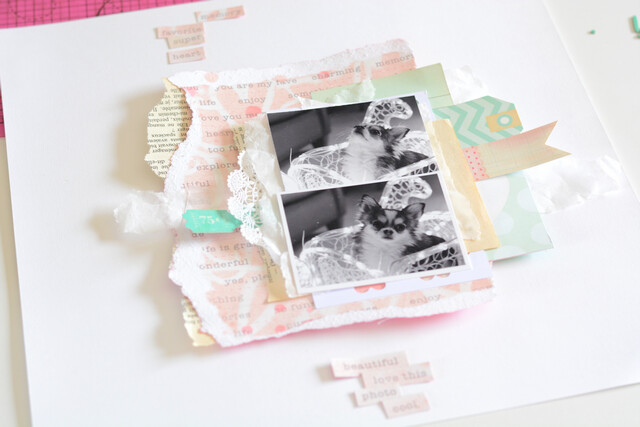
For today's tutorial I tried to copy the look of a Polaroid frame using solid paper and 6 x 6 pattern paper. I started off with 3 selfies that my husband, daughter and I took of ourselves this summer, framed them and made a layout. My goal: frame the selfies and keep my layout simple.

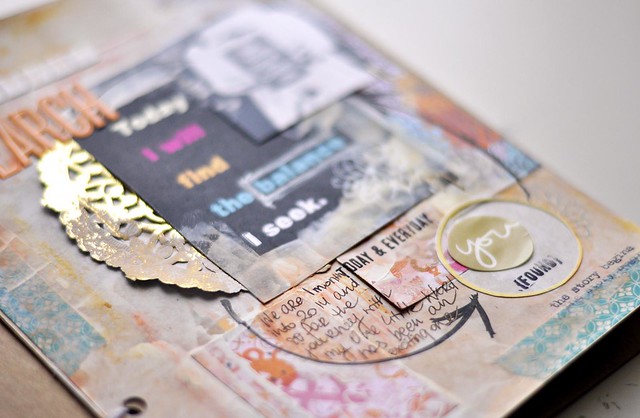
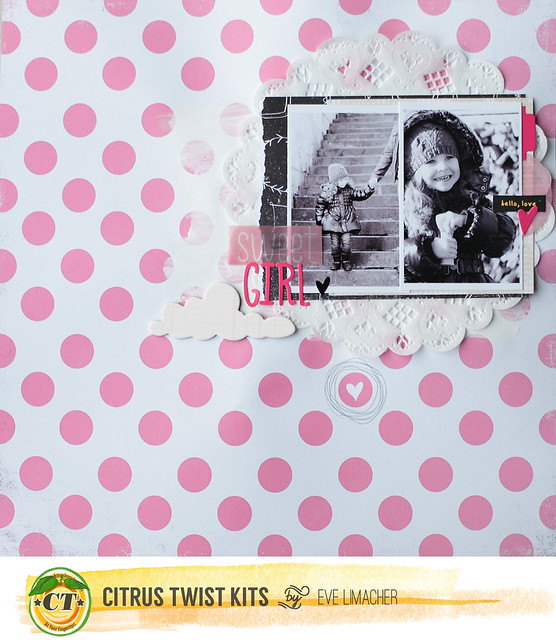
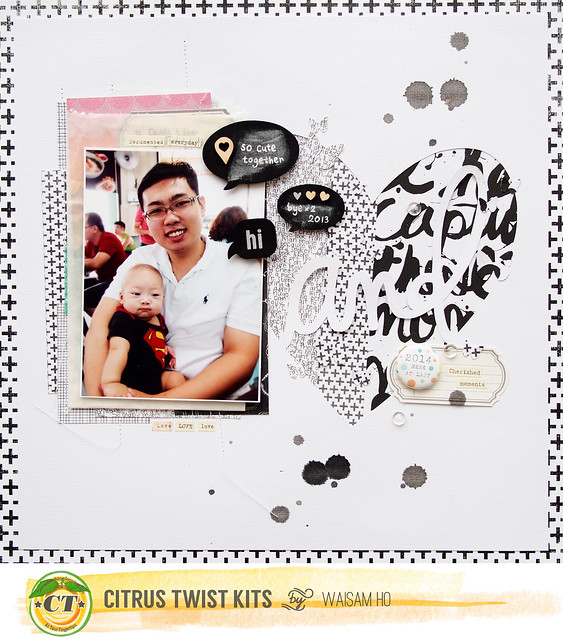
Here is part of my finished page. I'm not going to sneak it all since it isn't February yet.


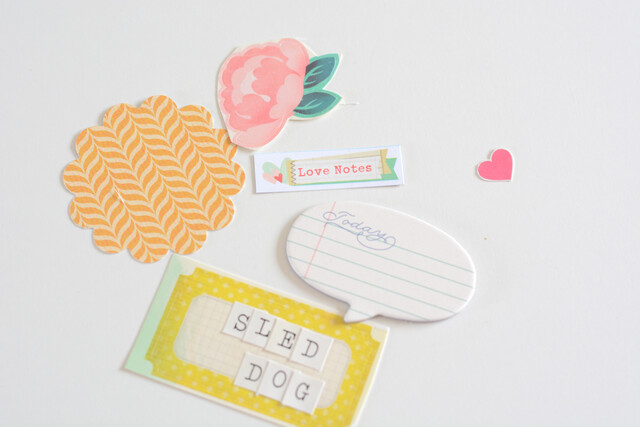
I started by flipping through my 6 x 6 paper pad (any guesses which pad it is?), picked some patterns to work with plus a soft colored solid. I trimmed the photos first then cut each layered frame a little larger.


The light blue cardstock was my "polaroid" frame and I cut it 3/8" bigger than the photo on the top and the sides and 1/2" bigger on the bottom. (So the frame was 3/4" wider than my photo and 7/8" taller than my photo.) I used my Fiskars Paper Trimmer to cut the rectangles and cut the inside out of the rectangles to create frames.


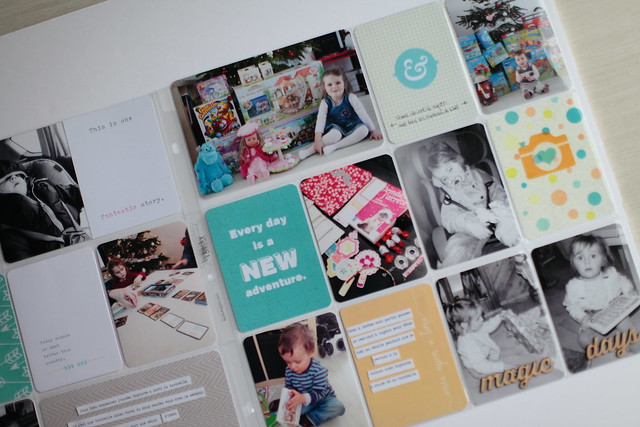
Once my frames were cut I glued them over the photos. I put a pattern paper rectangle behind the photo of my daughter to make the photo pop.


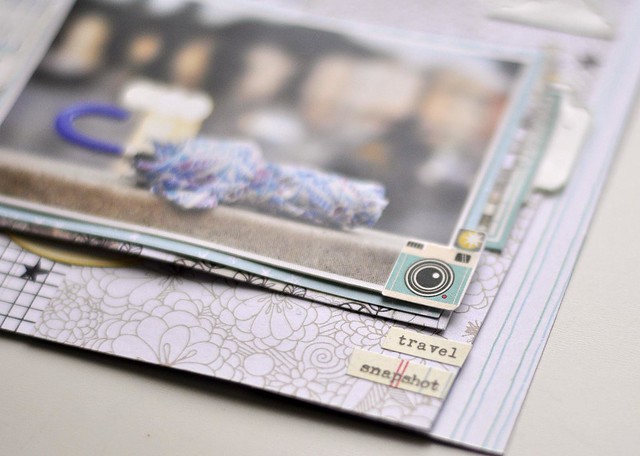
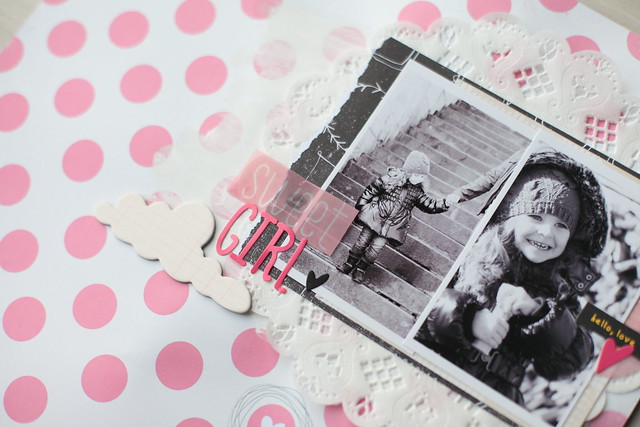
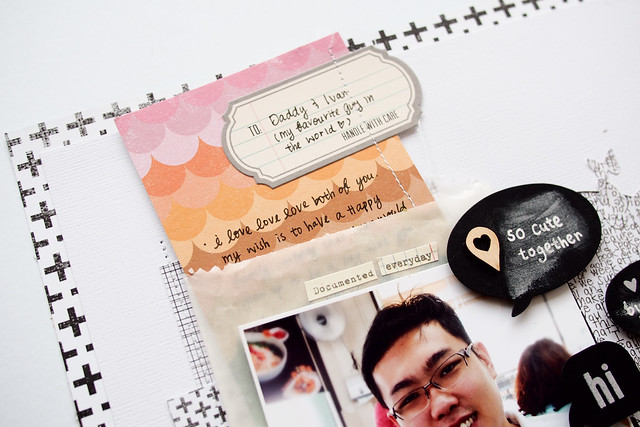
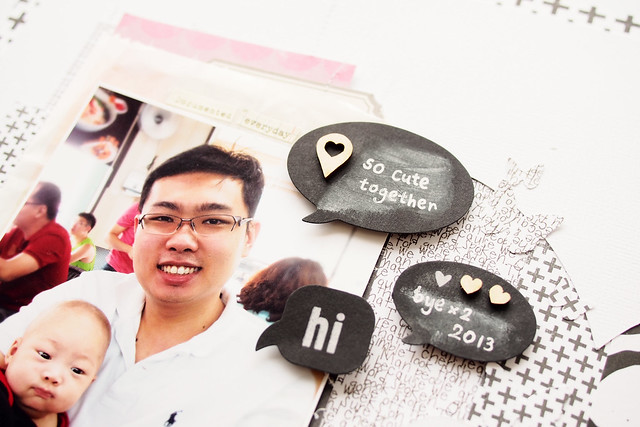
Next I played with placement of the 3 framed photos and decided to run them horizontally across the center of my 12 x 12 page. Here's a close-up of the finished frame with a rectangle of pattern paper behind.


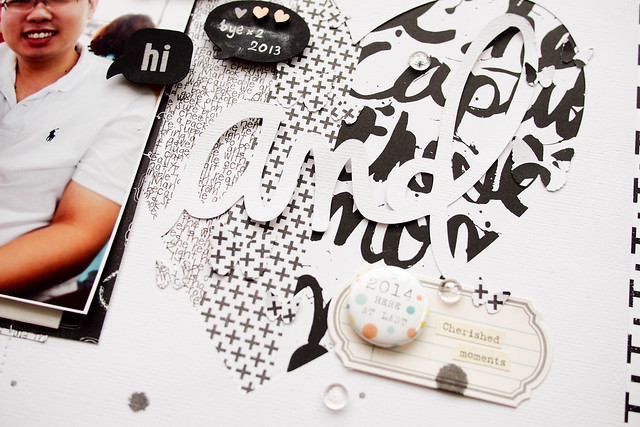
Last I'm sharing a close-up with a little sneak of wood chip and a tag from the February PL kit.


Thanks for stopping by our blog today. We'd love to see what you do with frames on your layouts!


Monday, January 27, 2014

{simple strategies with jen chapin}

Hi there! Jen here and today I'm sharing a layout with you using January's main scrapbook kit as well as the embellishment add-on.

My simple strategy for today is to use a whole sheet of alphas. For this page, I decided to use the alpha stickers from the add-on and cover them with a sheet of vellum on my backgound.

The result is a unique look that will make your page stand out! Hope you've been inspired today. Thanks for stopping by!

Sunday, January 26, 2014

Sunday Sketch

Hello and welcome to another sketch challenge.  I love sketches and Kasia's are amazing!

Here is your sketch for this week:


Here is my take using the January Main Kit and Embellie Kit.  I really love the bright colors in this kit!


To play along with our sketch challenge, upload your layouts to the gallery by Feb. 1st to get your name in a drawing to win a $5 GC to the store. When uploading to the gallery you can name it as you would normally but please include "Sketch 01/26".

Saturday, January 25, 2014

Saturday Inspiration- Art Journal

Hello and happy Saturday everyone!
It's Kasia here today and I'd like to invite you to play and experiment this weekend! We usually show you here layouts, Pocket Life spreads, cards and mini books made with Citrus Twist Kits but how about some art journaling? Personally I love this kind of creative play and I'm trying to do more of it this year, it's such a great way to try new things and use up some scraps and leftovers after bigger projects!


SEARCHING art journal Kasia
To create above page I used some bits and pieces from January Pocket Life and Embellishment kits. I layered scraps of papers from 6x6 pad and washi tape on my page, covered them with gesso and added more layers on the top- you can find here doily, journaling card and a small black and white photo. I added some more gesso and once everything dried I played with paint, added small doodles, title and some stickers. To finish my page I used some October Afternoon stamps which you can find in CTK store- I love the expressions on them!

SEARCHING art journal Kasia det3

SEARCHING art journal Kasia det1

SEARCHING art journal Kasia det4

SEARCHING art journal Kasia det2


I hope this post will inspire you to look at your kits (and especially the smaller bits and pieces of them left after creating bigger projects!) from a fresh perspective! Have a happy and creative weekend!

Friday, January 24, 2014

Playing with Pocket Life with Melissa

Hola and a happy Friday to you all! Melissa here to host this week's editing of Citrus Twist's Pocket Life series. For this week's layout I used the January Magic Days kit, and while the Studio Calico Printshop paper pad that is included contains a rainbow of colors, I narrowed the palette for my layout down to just yellow, orange, and aqua, with only a hint of pink thrown in here and there as accents.

project life 2013 week 32.jpg

Choosing just a subset of colors in a kit is a great way to stretch the supplies across multiple weeks without having them all look like they were made with the same collection. I still had plenty of pink, black, and white papers left over after this page and could make another spread with a completely different look.

DSC_0213-2.jpg

DSC_0214-2.jpg

The clear pocket in the photo below is from the January Pocket Life embellishment add-on. I don't normally use see-through elements in my pages because they tend to fill up quickly, and finding two weeks in a row with an extra space to use for a clear pocket is almost impossible. Instead, I adhered the pocket to one of my 4x6 cards and used it to hold journaling, then took advantage of the front to add in the date for my spread.

DSC_5922.jpg

DSC_5923.jpg

DSC_5924.jpg

And of course I have a set of sketches for you this week, too! You can either pin or download the photo below, or if you want the PDF version you can download them here.

Pocket Life Sketches 1.24

Have a fantastic weekend!

Thursday, January 23, 2014

Be inspired with Eve

I found my inspiration on Pinterest with this combo, perfect with the main kit :)


I did 2 layouts in 12''x12'' :

page top model b

IMG_0884

page sweet girl b

IMG_0880


Hope you will be inspired too with this combo :)

Wednesday, January 22, 2014

6x6 Paper Play with Sam

Hello there! Sam here to share one of my layout using 6x6 paper pad that is included in your Pocket Life kit. I love love love the bold prints in the Studio Calico PrintShop collection. Then I thought maybe its time for me to make a Black and white layout with all the bold patterned papers. And here's my take!

Everything here is from January Pocket Life kit and PL Embellies kit, I only sneak in a piece of 12x12 paper from Printshop collection to mat my white card stock. I was kinda happy how the B&W layout turn out  + baby was wearing black Superman onesie and husband was wearing white top in the photo. So this really match the colour of my layout very well.

And

I started by cutting this heart on a piece of white card stock and layer three pieces of patterned papers underneath. I also added some mini butterfly punch-outs to add some dimension to the layout.

P1021482

Okay, it is really tough for me to stick on only Black & White. So I sneak in a piece of rainbow pattern papers under the photo and use it as my hidden journalling tag. 

P1021483

I make the chalkboard stickers even more chalkboard look by doodling with white gel pen and rubbed with my fingers. 

P1021485

Thanks for looking and have a great day ahead!

XoXo, Sam

Tuesday, January 21, 2014

Tuesday Tutorial with Our Guest Designer

"I started thinking about creating some kind of a resolution book in December last year. I love when things are well organized and planned and when I can write down the lists and "to do's" of really anything ;) and then cross them off my list! I wanted this 2014 book to be something pretty that will inspire me throughout the year to fulfill my resolutions and follow my dreams.


Today I'm sharing with you my creative process about how to make one!
The base page for the mini is an A4 (about 8.2 x 11.7'') folded in half to create a book, but you can use any size. 
Then you have to excuse me, because I'm really bad in measuring and I actually don't measure at all if I don't have to! So, please, take this video more as an inspiration or new idea than a strict step-by-step tutorial.

.
.


Here's the list of materials I've used:
-CTK January main kit (papers, sequins, washi tape)
-CTK January embellie kit (Studio Calico stickers, October Afternoon Tin Pins, orange self-adhesive stones)
-white cardstock
-white envelope
-white acrylic paint
-Lucia Barabas clear stamps
-Dymo
-machine stitching
 

I hope this inspires you to craft and create some pretty little book :)

Monday, January 20, 2014

Simple Stratégie with Amélie

Hi! Here is Amélie and today, I am going to share with you my new layout with January Add-On kit. On this layout, I created my own embellishments using my kit supplies.
I just layered some chipboards with papers, stickers, brads...
And this is what it looks like:

ss3

 
ss1


ss2

And now this is my layout:


 Some supplies like cork shapes and enamel dots come from previous kits.
 I hope this will give you some ideas!
See you soon.
Amélie